Installing Tubeless Tires Perfectly (Nearly) Every Time

Installing tubeless tires can be frustrating. Doing a full reinstallation yields the most consistent results.
Why Remount a Tubeless Tire
I generally install tubeless tires under one of 3 conditions:
- A brand new wheelset and tire — with new equipment across the board, this almost always goes the smoothest.
- It's time for a new tire due to tread wear or a large, unsealing puncture — with an old wheel and new tire, this requires assessment of each component in turn and requires replacing some or all of the components listed below.
- The tire starts to leak air either around the valve stem or for some indeterminate reason, generally very slowly but such that it is flat after standing overnight.
That last condition — a leak around the valve stem or an unknown leak — is the most frustrating to deal with. Generally, the tire itself seems fine, the want to leave it mounted and sealed is strong (especially when you encounter this condition as a result of trying to install just a new tire without changing out the tape or valve stem), and it's a problem obfuscated by the visual evidence, when there is any. However, the tape job is almost always the fault (provided the tire isn't punctured and is seated correctly around the rim).
A loose tape job, having tape that is the wrong width, or a tool gouge to the tape when installing those last couple inches of tire (or rock nick on old tape) can lead to this kind of leak, even on a fresh install. The best course of action here is to pull the tire, pull the tape, clean it all out, and start afresh. That bears repeating. Pull the tire, pull the tape, clean it all out, and start afresh.
Materials
A few tools make the process a lot simpler, some of these are obvious and a few are less so
- Tire levers for removing the old tire.
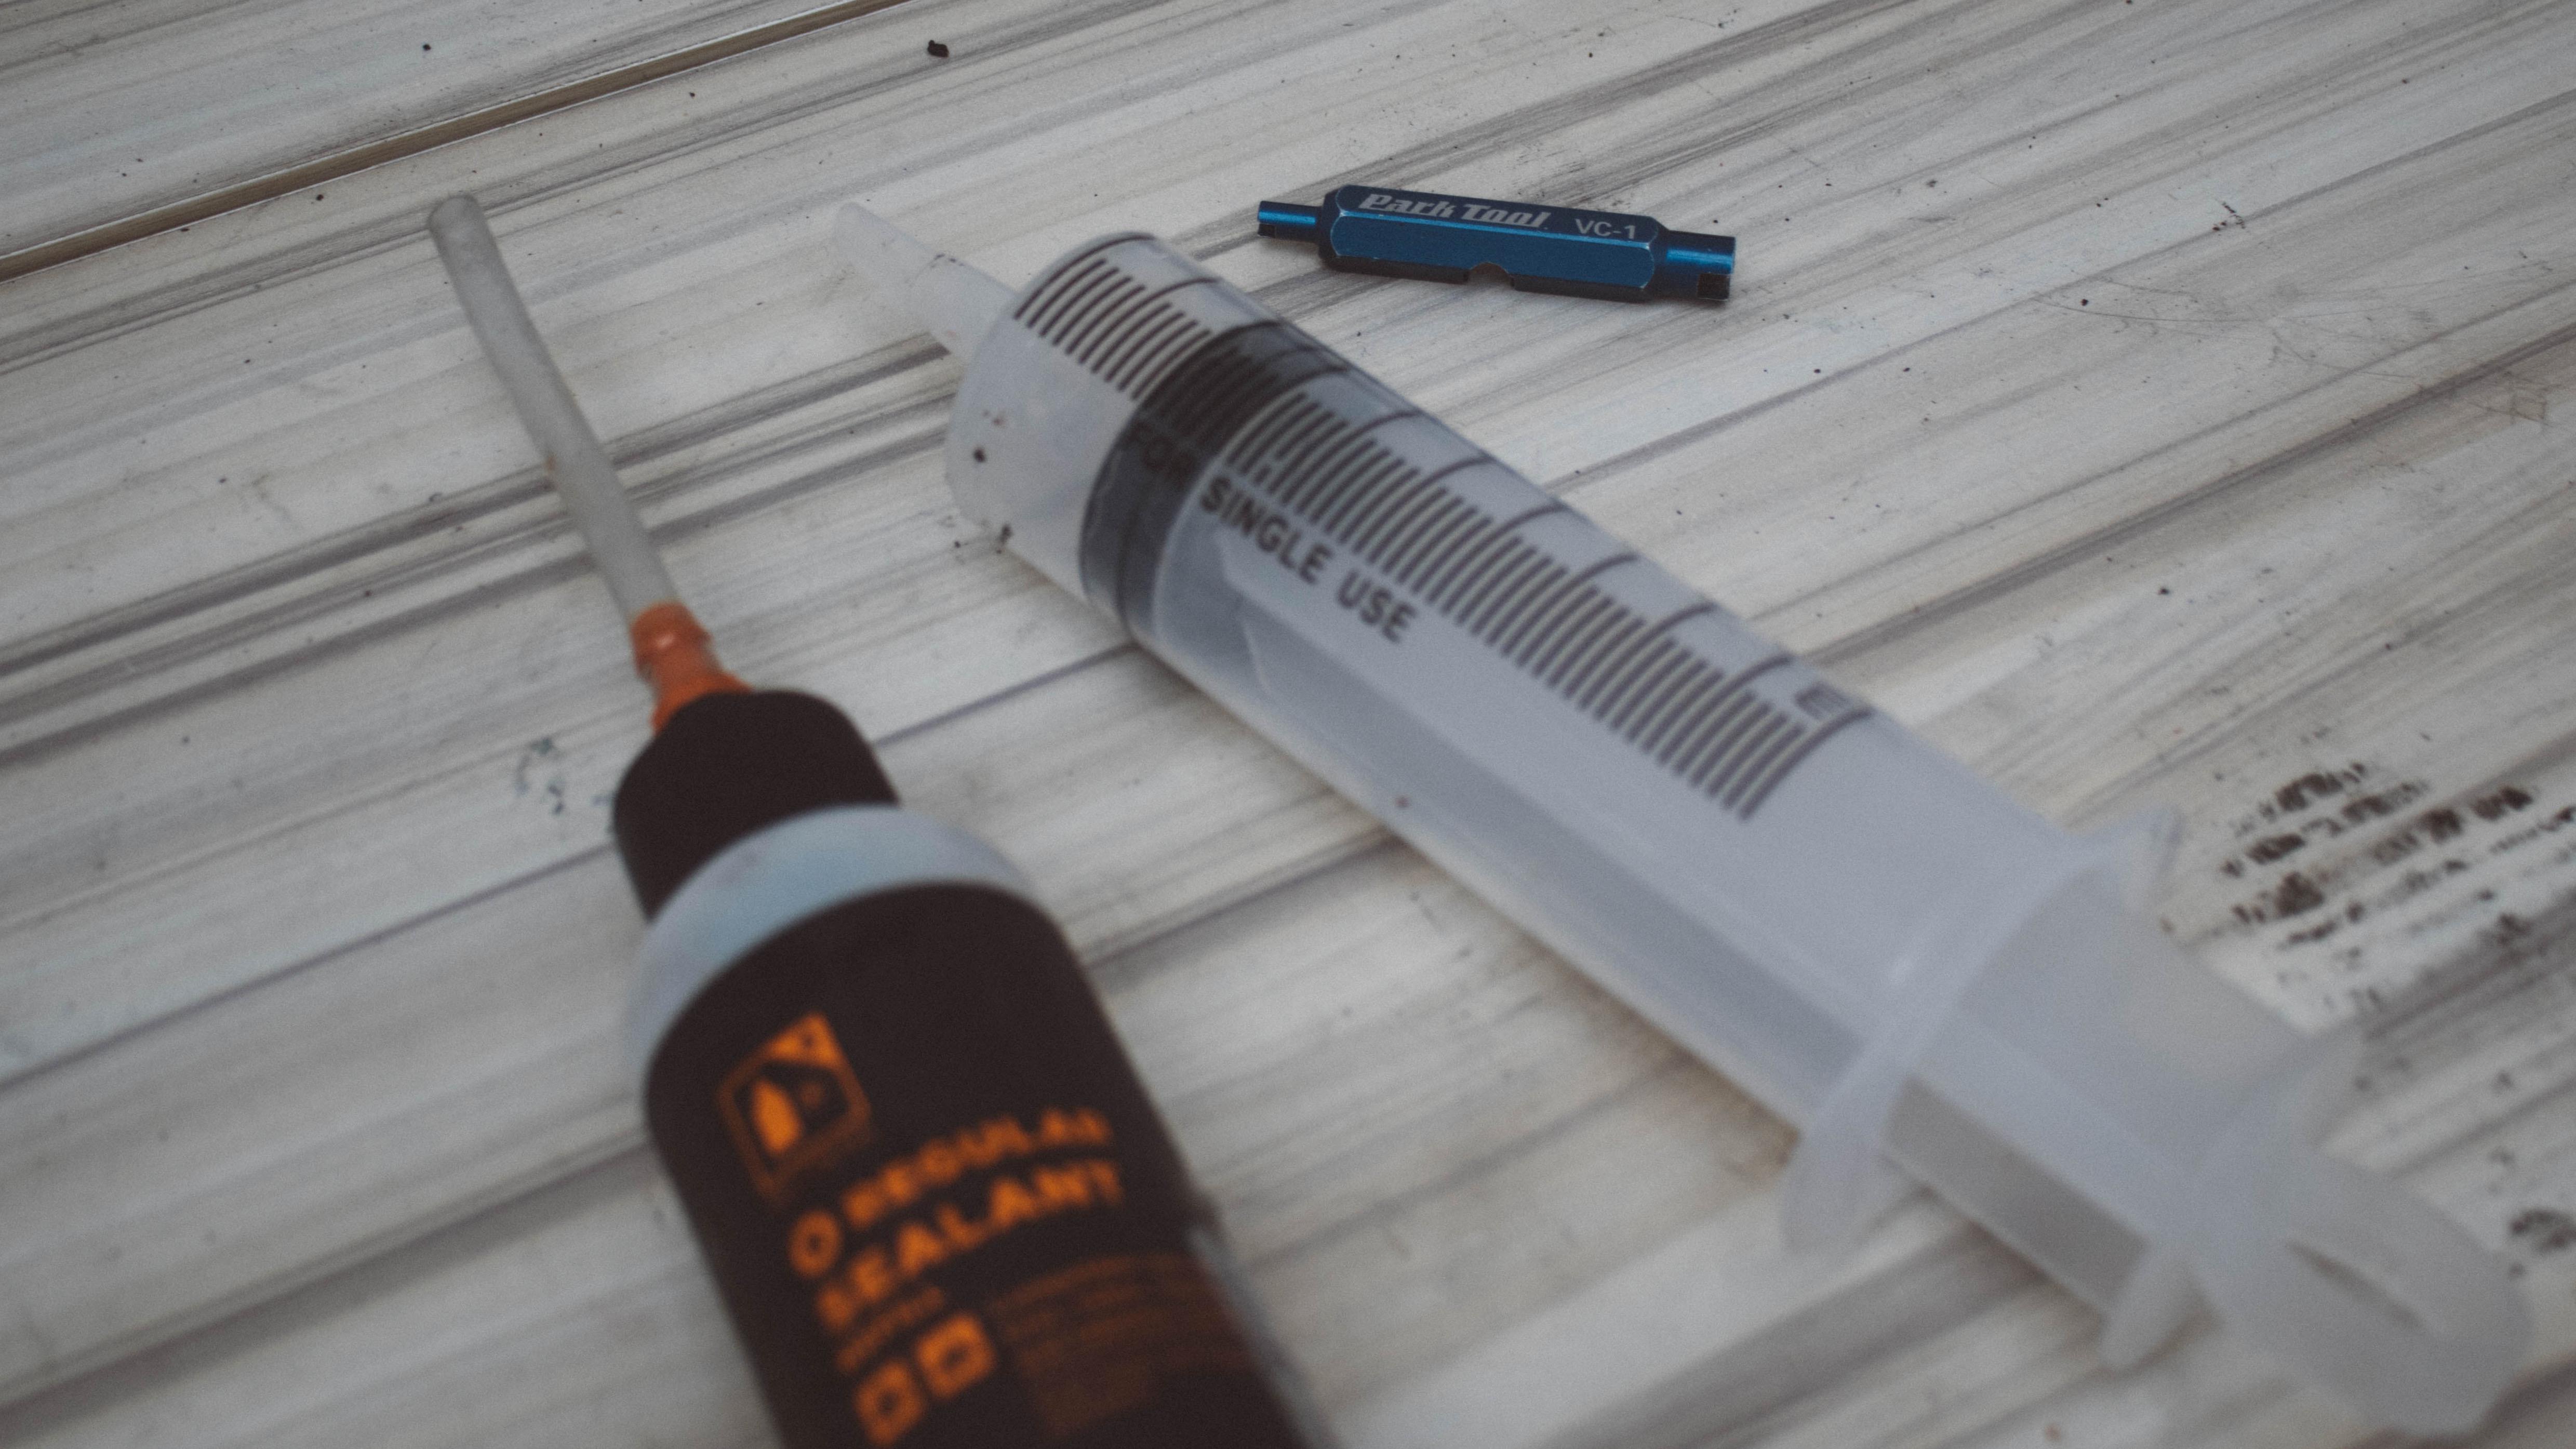
- A valve core removal tool such as the Park Tool VC-1.
- An empty OrangeSeals 4oz/120ml bottle with a semi-soft spout or a liquid syringe with a similar spout allows adding a precise quantity of sealant.
- A small, sharp pick like the Park Tool UP-1 to make a hole in the tape for the valve stem.
- A hose with a spray nozzle or a spray bottle with water for the removal and water plus a bit of dishsoap for the installation.
- Rubbing alcohol or acetone in a spray bottle.
- A booster pump such as the Topeak JoeBlow Booster or an air compressor.
- A couple disposable cotton rags because sealant is super sticky and sucks to clean up once it dries.
I buy new (almost) every time (noting that as you work down this list, if you are replacing items, each item above it will probably need to be replaced as well)
- Sealant — if bought in a big enough bottle it might come with a second stopper which will seal it tight enough to keep it fresh long enough to last through several uses, otherwise 40-120ml is enough per tire depending on the size of the tire and the manufacturer of the sealant (read the bottle for a recommended amount).
- Rim tape the same width as the inner width of the wheel to 1-2mm wider than the inner width of the rim.
- A valve stem — the rubber seal on the valve stem will tear or break down with sun and heat or get gunked up with old sealant. Sometimes it can be cleaned and reused.
- Tires — this will be what I try to hold onto the longest.
And, for when it goes wrong, you can salvage sealant with
- A 150ml syringe.
- A rubber spatula.
- A bottle you can seal overnight to temporarily contain any salvaged sealant (I use the same old OrangeSeals bottle but with the screw top instead of the spout).
Pulling the Old Tire
- Deflate the tire. Position the valve stem at 3 o'clock or 9 o'clock and let sit for a minute or so to allow the sealant to run away from the valve before deflating.
- Work your palms around the edge of the tire to break the seal. (As this article on Bicycling points out, your palms are stronger than your thumbs). Try to avoid using a tool until you've loosened the seal all the way around on both sides. This will allow a little room for the tool.
- Remove the tire from one side of the wheel rim working from the valve stem, towards the opposite end (hat tip to Lenard Zinn's Zinn & the Art of Road Bike Maintenance). The tire will then be structurally sound on one side with a gap on the other allowing you to use the syringe to extricate any lube you want to save (or dispose of) without dribbling it all over the place. Run the rubber spatula (or a wet rag if you're not intent on salvaging the sealant) around the tire bed to push as much of the sealant as possible into a single puddle to ease extraction and really get it all.
- Remove the tire completely from the wheel.
- Remove the valve stem.
- Remove the tape.
- Spray down the inside of the tire and the wheel bed itself with a hose or wipe down with a wet rag, cleaning off any sealant that is still wet.
- Wipe down the wheel bed with a dry rag and solvent that doesn't leave a residue such as alcohol or acetone, rubbing out any dried sealant still attached. Let the wheel dry completely, for a few hours or overnight (especially if you used a hose). This allows any water or sealant inside the rim of the wheel to evaporate or drip out. I generally don't try to clean dried sealant out of the tire itself, figuring it is sealing any punctures that might exist but I will remove any big clumps around the edges which might otherwise interfere with the seal (this is an indica of a bad seal and a sign that re-mounting may be a bit of a bear). It is usually pretty apparent at this point if the sealant has dried in one spot from disuse of the wheel or a big puncture, or if there are other issues that might just call for a new tire rather than remounting it.
Remounting
When the wheel is completely dry, begin the process of remounting.
- Tape the wheel completely, beginning just to one side of the weld (usually opposite the valve hole), allowing 3-4 inches (7-10cm) of overlap. For the next few steps, Stan's NoTubes has an excellent tutorial video.
- Once the tape is all the way around the wheel, go around a few times pressing with a dry rag to work out as many bubbles as you can and maximize the purchase of the adhesive.
- Make a small puncture for the valve stem at the hole. I usually push up through the hole just enough to scar the tape as a marker and then push down through the tape from the wheel bed side.
- Gently press the new valve stem through the hole and thread the nut and rubber washer, if there is one, from the other side to set it. Hand tighten.
- Wet the tire with the hose, washing it down. This will help it seal when you fill it. Alternately, you could dip it in a bucket of water or spray the rim bead with soapy water from a spray bottle (this provides the most control of all the methods and allows you to keep the body of the tire itself dry for a stronger grip). Wiping the rim with a sponge generally gets more water on the floor than the tire.
- Install the tire completely onto the wheel, trying to avoid using tire levers so as not to gouge the tape or tear the bead of the tire. Park Tool has a useful tip about placing the recommended tire pressure information near the valve stem in this tubeless tire installation how-to video. Work from the opposite side of the valve stem towards the valve stem.
- Remove the valve core from the new valve and pour in the sealant.
- Re-install the valve core.
- Spin the wheel around to spread the sealant. This will help it seal when you fill it, and since some tires are naturally porous or don't fit quite snuggly, this will begin to stop up any such leaks.
- Fill the tire in one go with the booster tank, it should loudly pop into place a few times as the seal is made. You might gently bounce the wheel on the floor to help it along and it might need a second go. Check the edges to ensure that the tire didn't seat too low in the rim (this will usually be an area where there is sealant bubbling out as air escapes). Deflate the tire and press the tire towards the center of the wheel with your thumbs or palms in this area to reset before refilling. If it doesn't seal completely around the edges after a third go, laying flat for a few hours lets the sealant set for a bit which may allow it to seal completely the next go-around.
- Once it is snapped into place and holding air in the immediate sense, fill the tire to about capacity and lay flat on one side for a few hours to let the sealant settle, flipping to the other side after a bit. Depending on the system, it can take a few hours to days to set and hold air in the more complete sense.
- Remount the wheels on the bike and ride it around a bit to both confirm the seal and make sure everything worked.
Feedback?
Email us at enquiries@kinsa.cc.